Historical playthrough: MMSaitama, July 15, 2026; build unknown. Steps follow narration and automatic English subtitles; timestamped screenshots do not independently verify actions. This is not a tested current-build or optimal route.
Before you start
The party is Warrior, Archer and Priest, rebuilt after Prestige and a narrated Dragon clear. Earlier progression: first stage and first Prestige.
1. Try stage two briefly, then retreat if health collapses
After a short Stage 2 attempt, the creator reports rapid health loss, wants stronger Priest healing and returns to Stage 1.
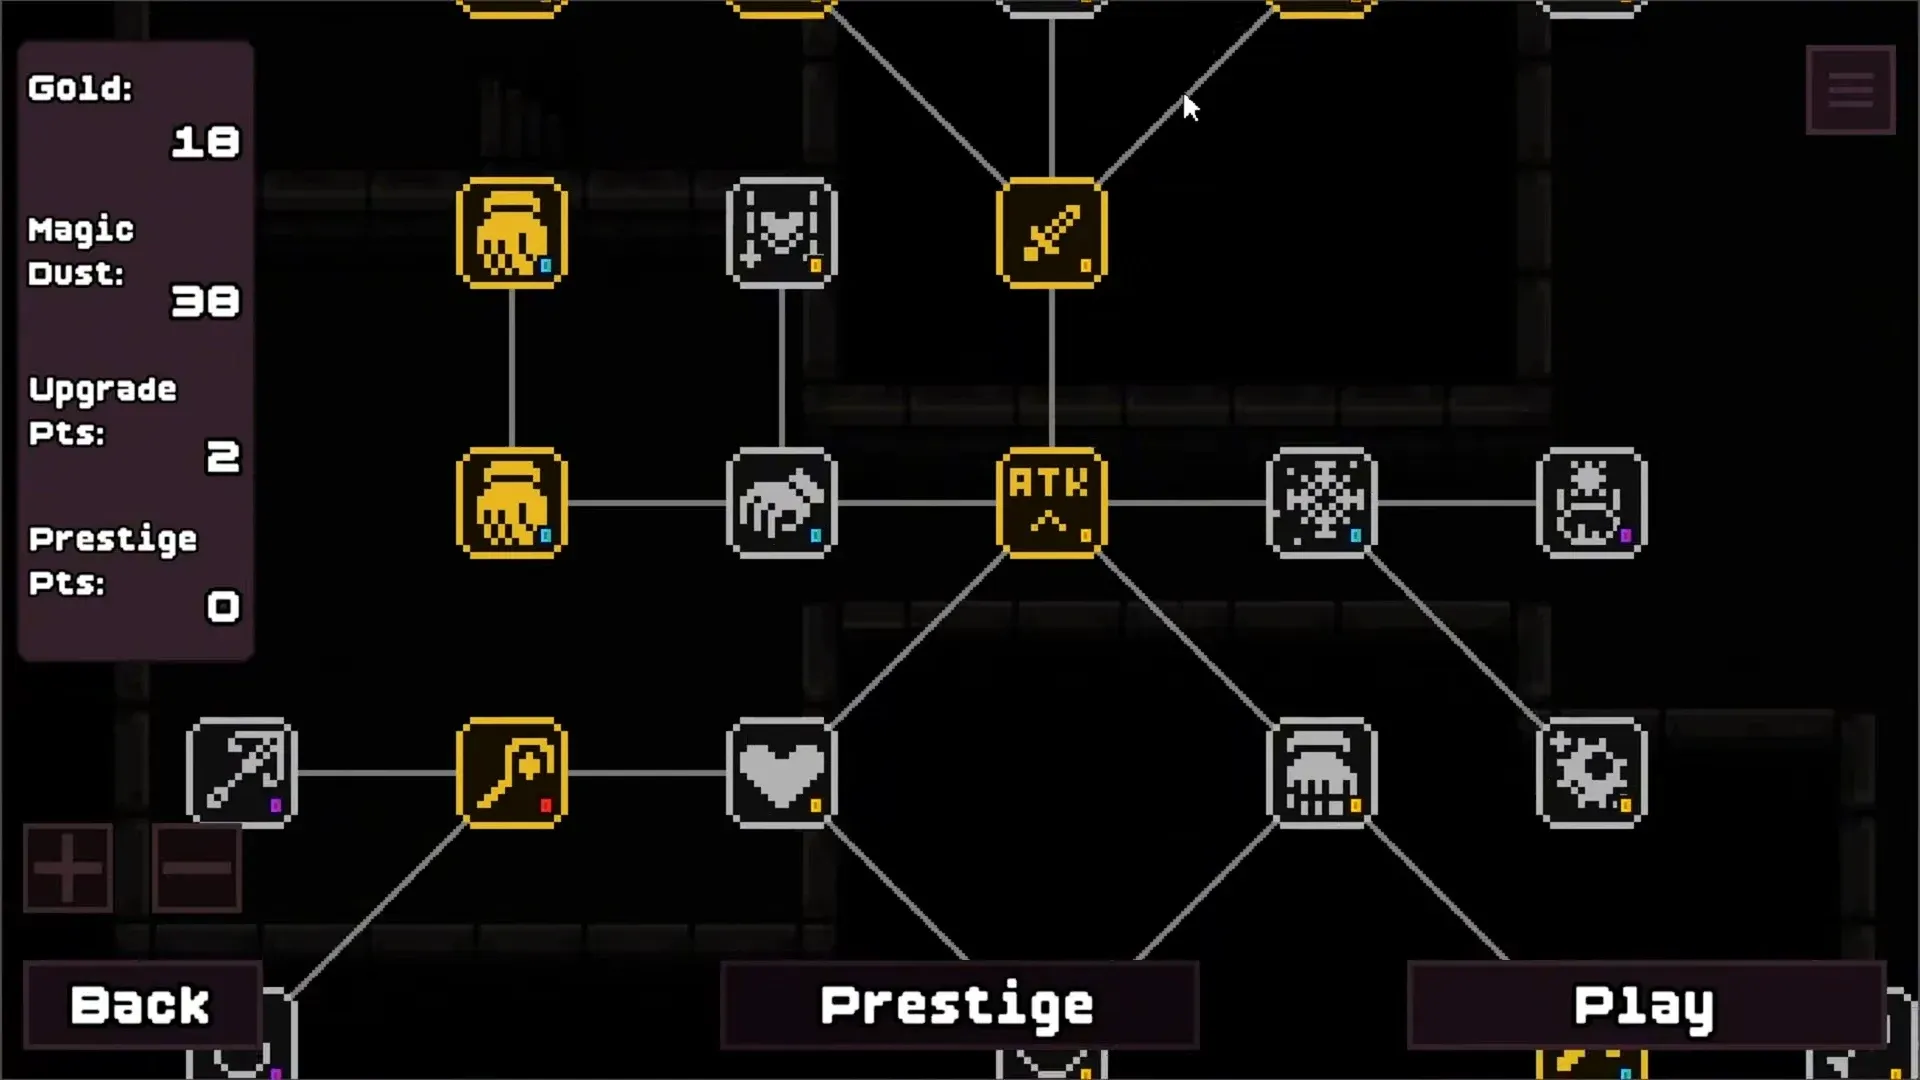
MMSaitama · 45:34 · English interface; build unknown. YouTube.
2. Grow in stage one, then try stage two again
The creator gathers Stage 1 resources, retries Stage 2 and upgrades attack speed and Archer. Stage 1 farming efficiency is not measured.
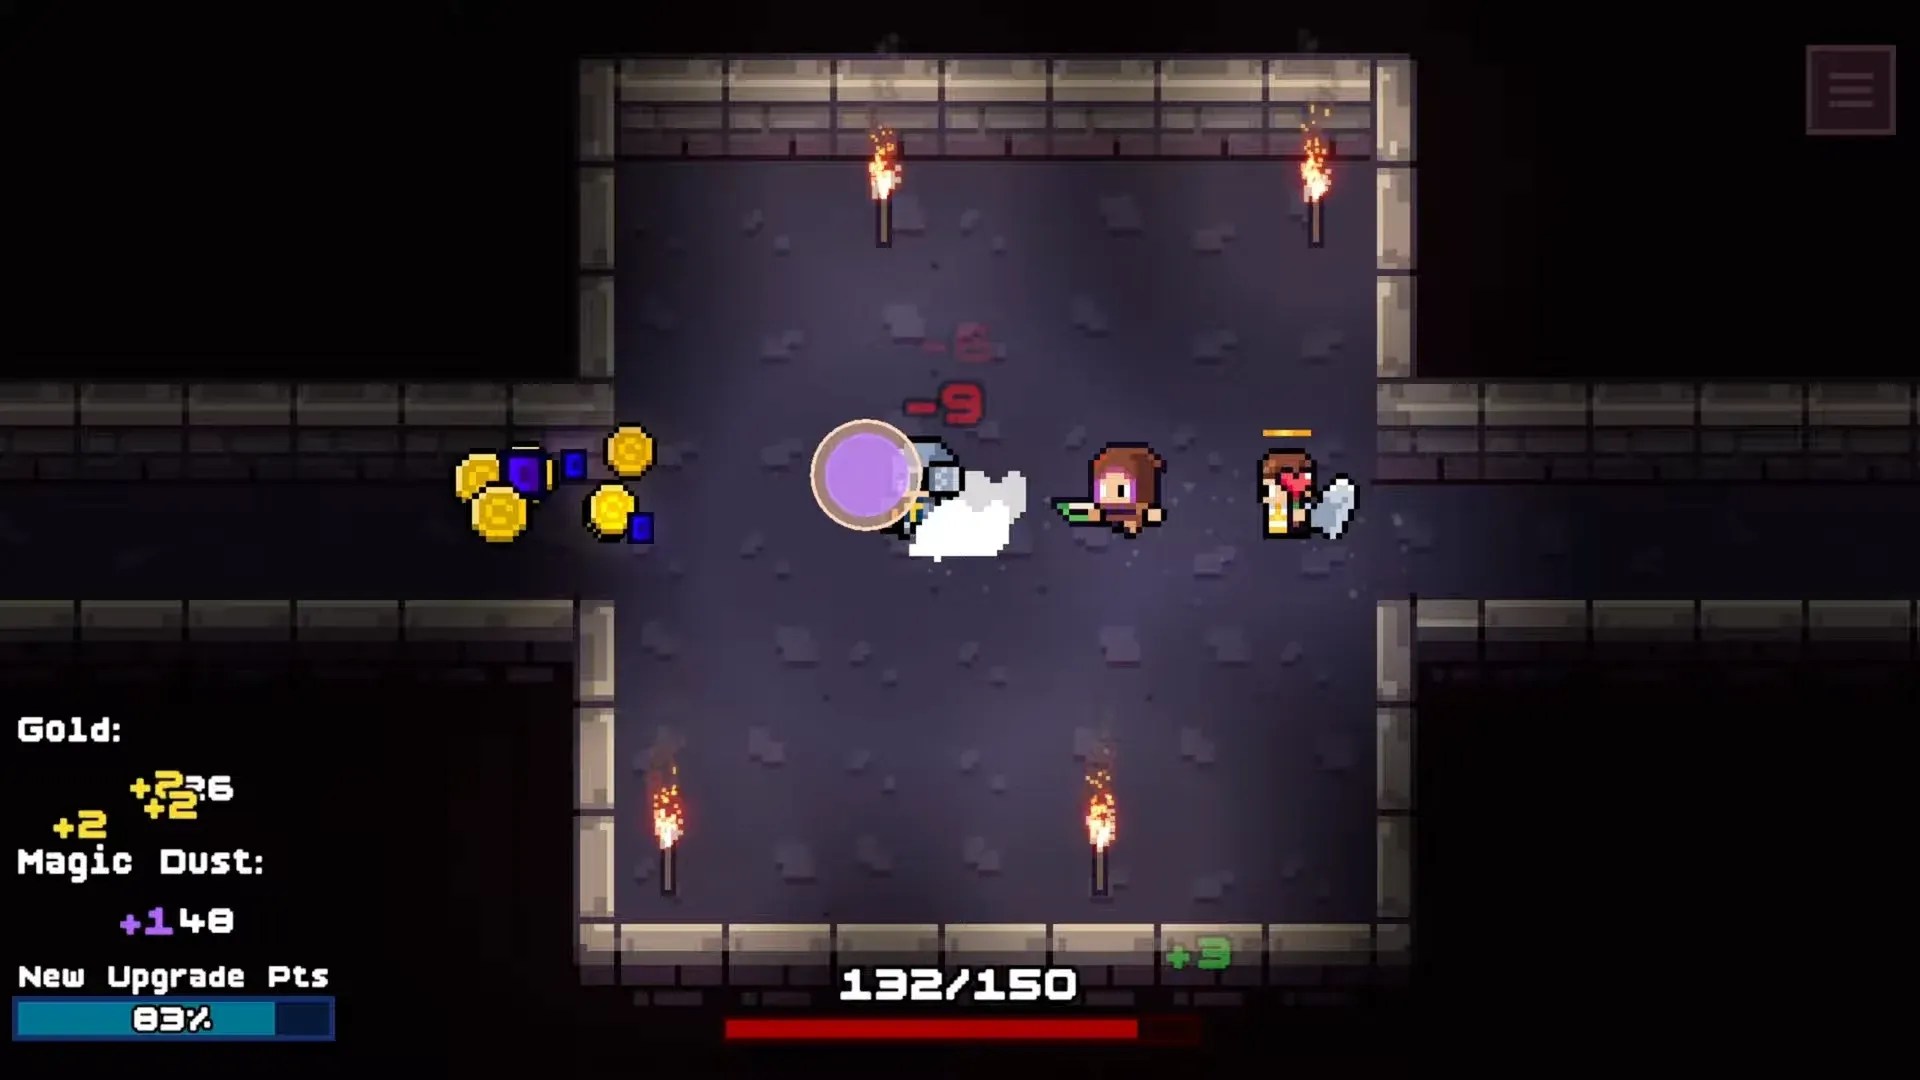
MMSaitama · 47:08 · English interface; build unknown. YouTube.
3. Address survival in ordinary rooms first
Ordinary rooms remain a problem, so the creator chooses party health over boss protection while also seeking defense and stronger Priest healing. The exact Blight/defense interaction is not established.
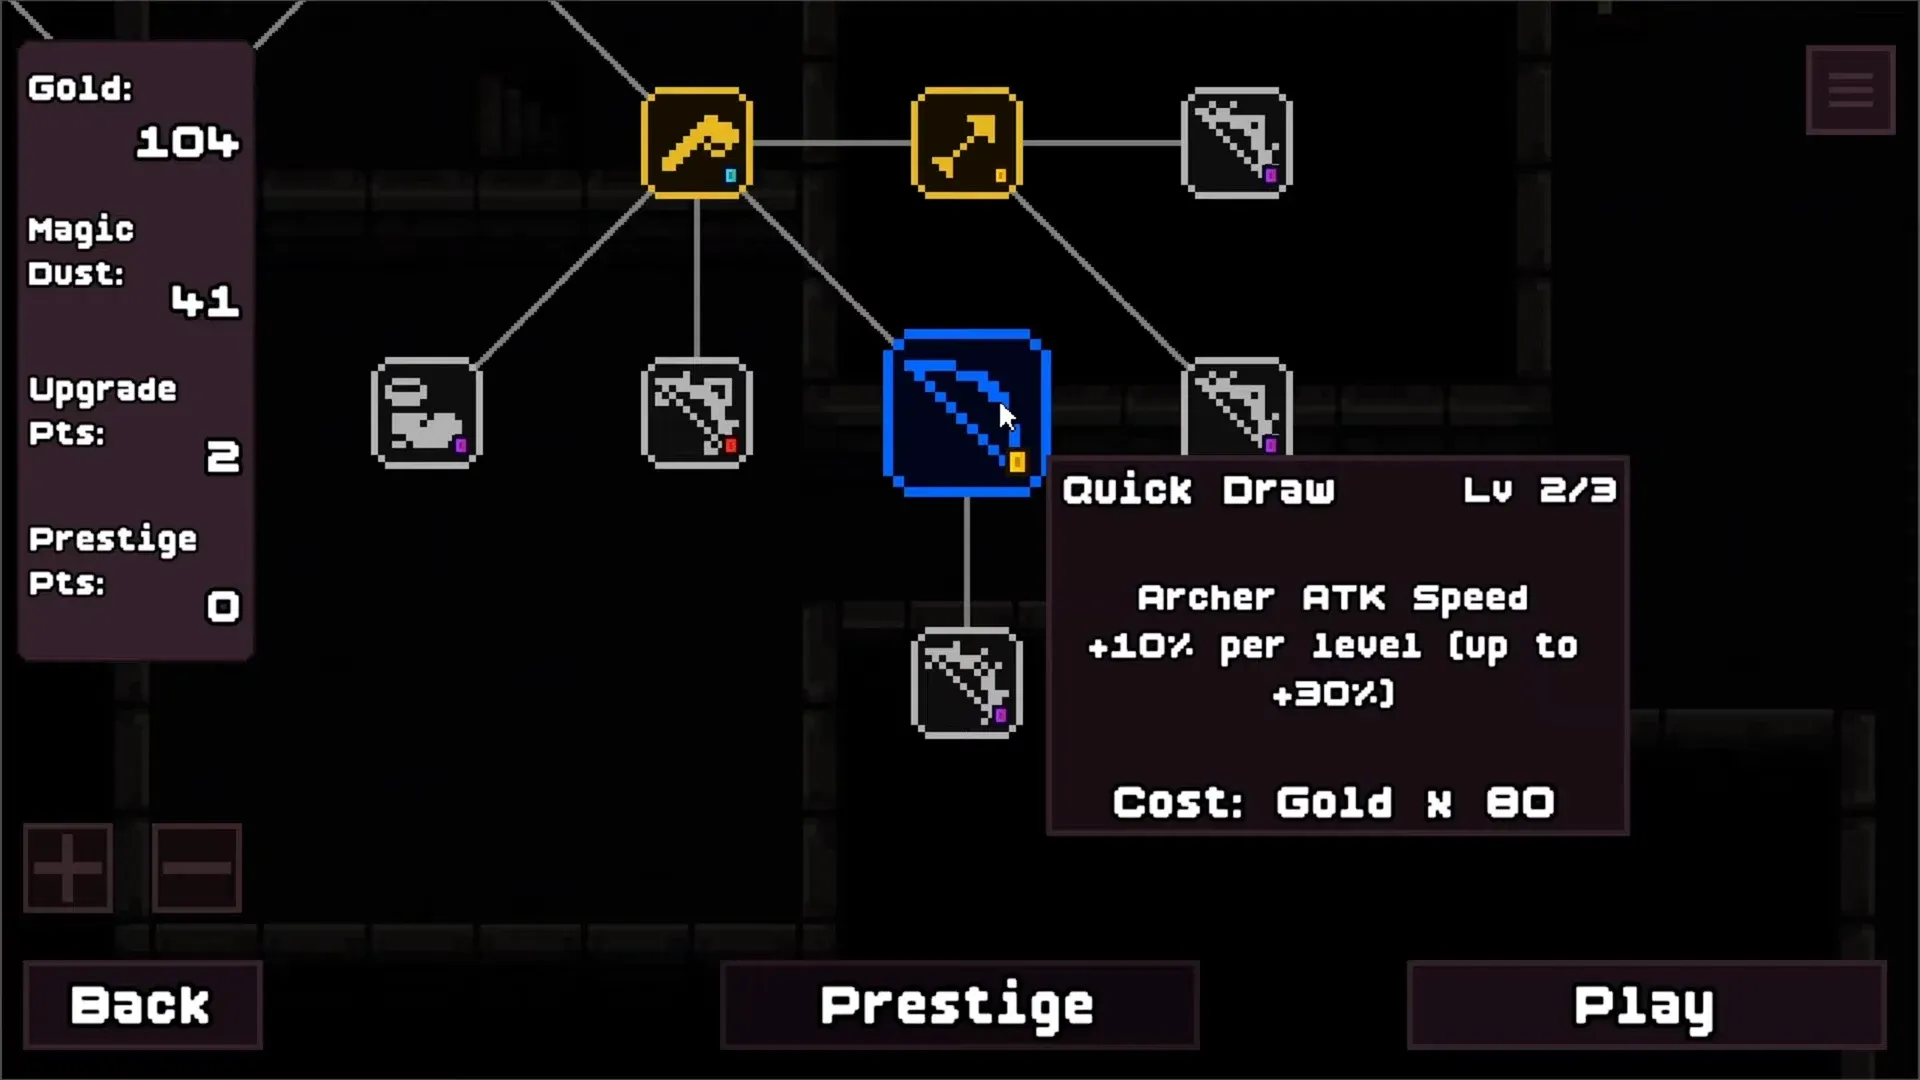
MMSaitama · 52:24 · English interface; build unknown. YouTube.
4. Check the Archer skill button
The creator discovers the Archer skill was unlocked but they had pressed the wrong button. Check your current skill bar and bindings; recorded number keys are not universal controls.
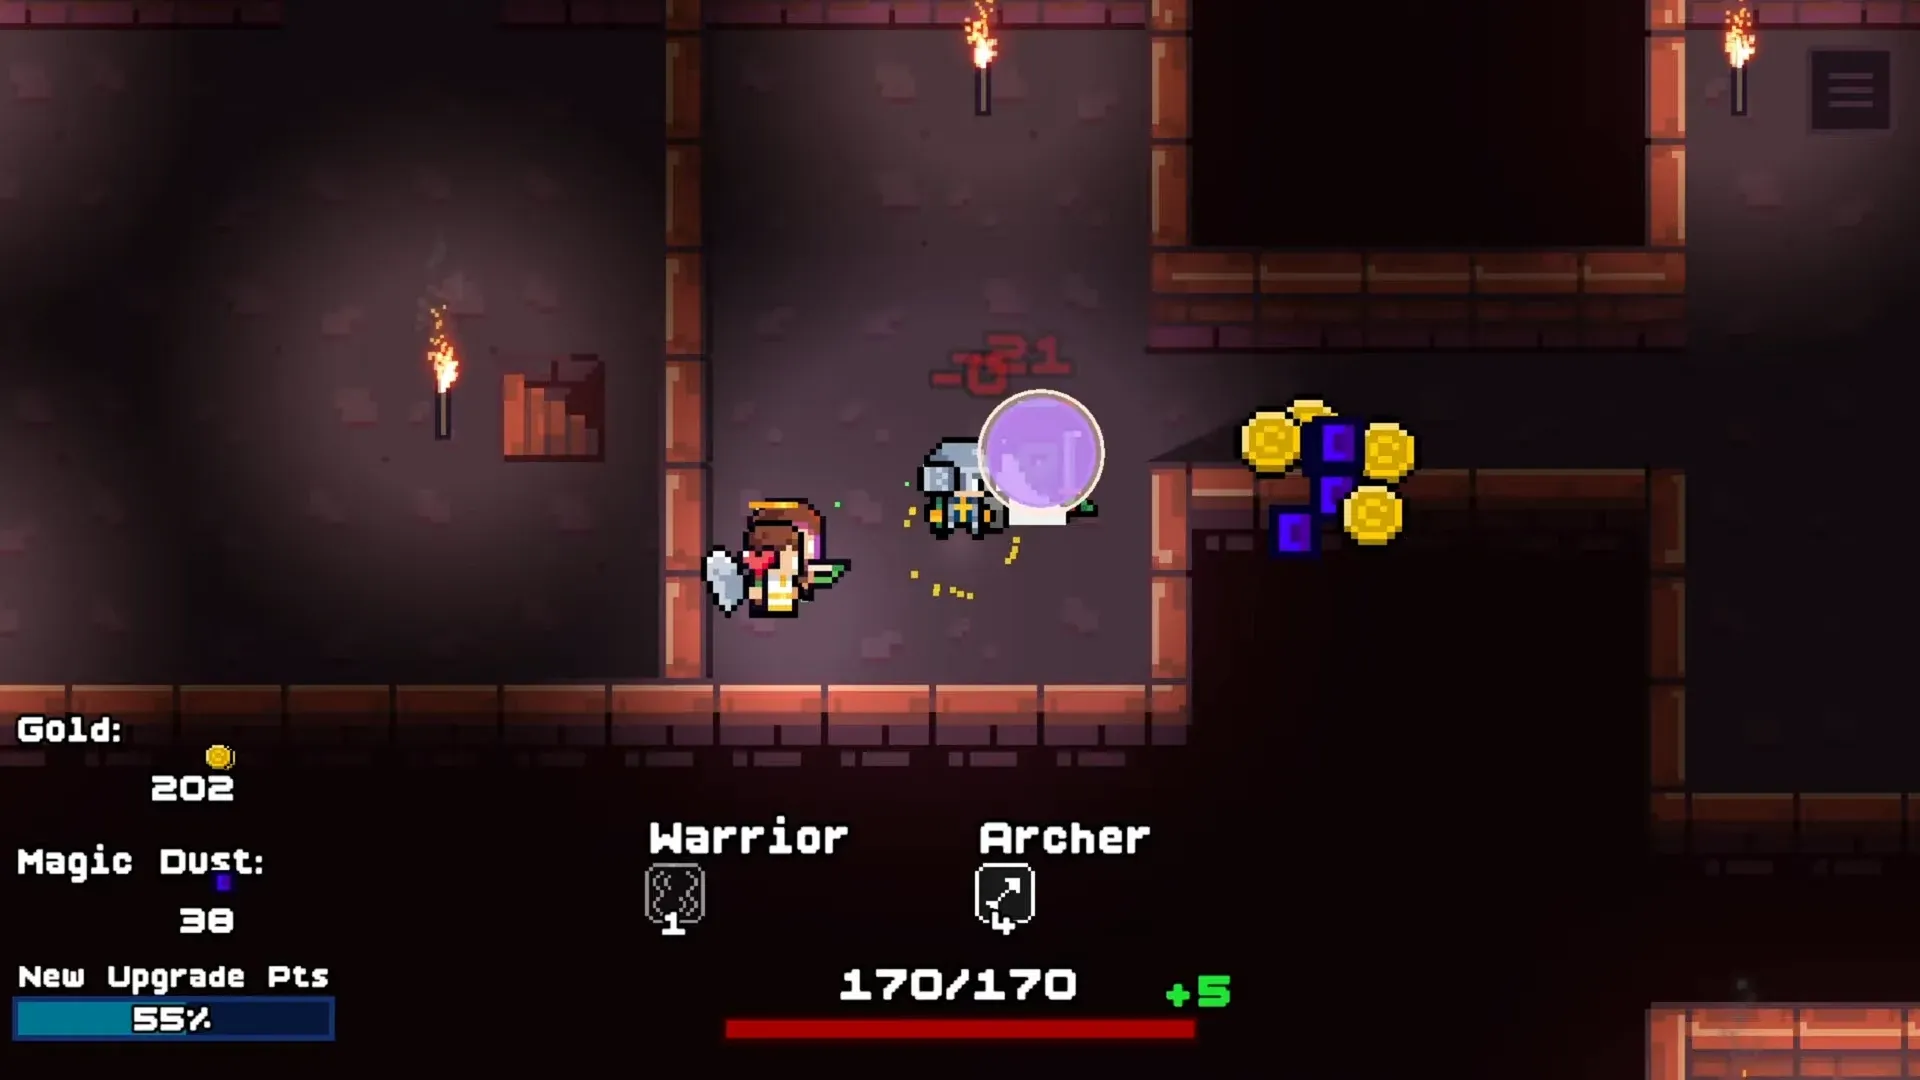
MMSaitama · 60:55 · English interface; build unknown. YouTube.
5. At the boss, review healing and cooldown readiness
A new boss is described with minions. The creator improves healing; in a later attempt, a major skill is unavailable, prompting boss protection and Archer attack upgrades.
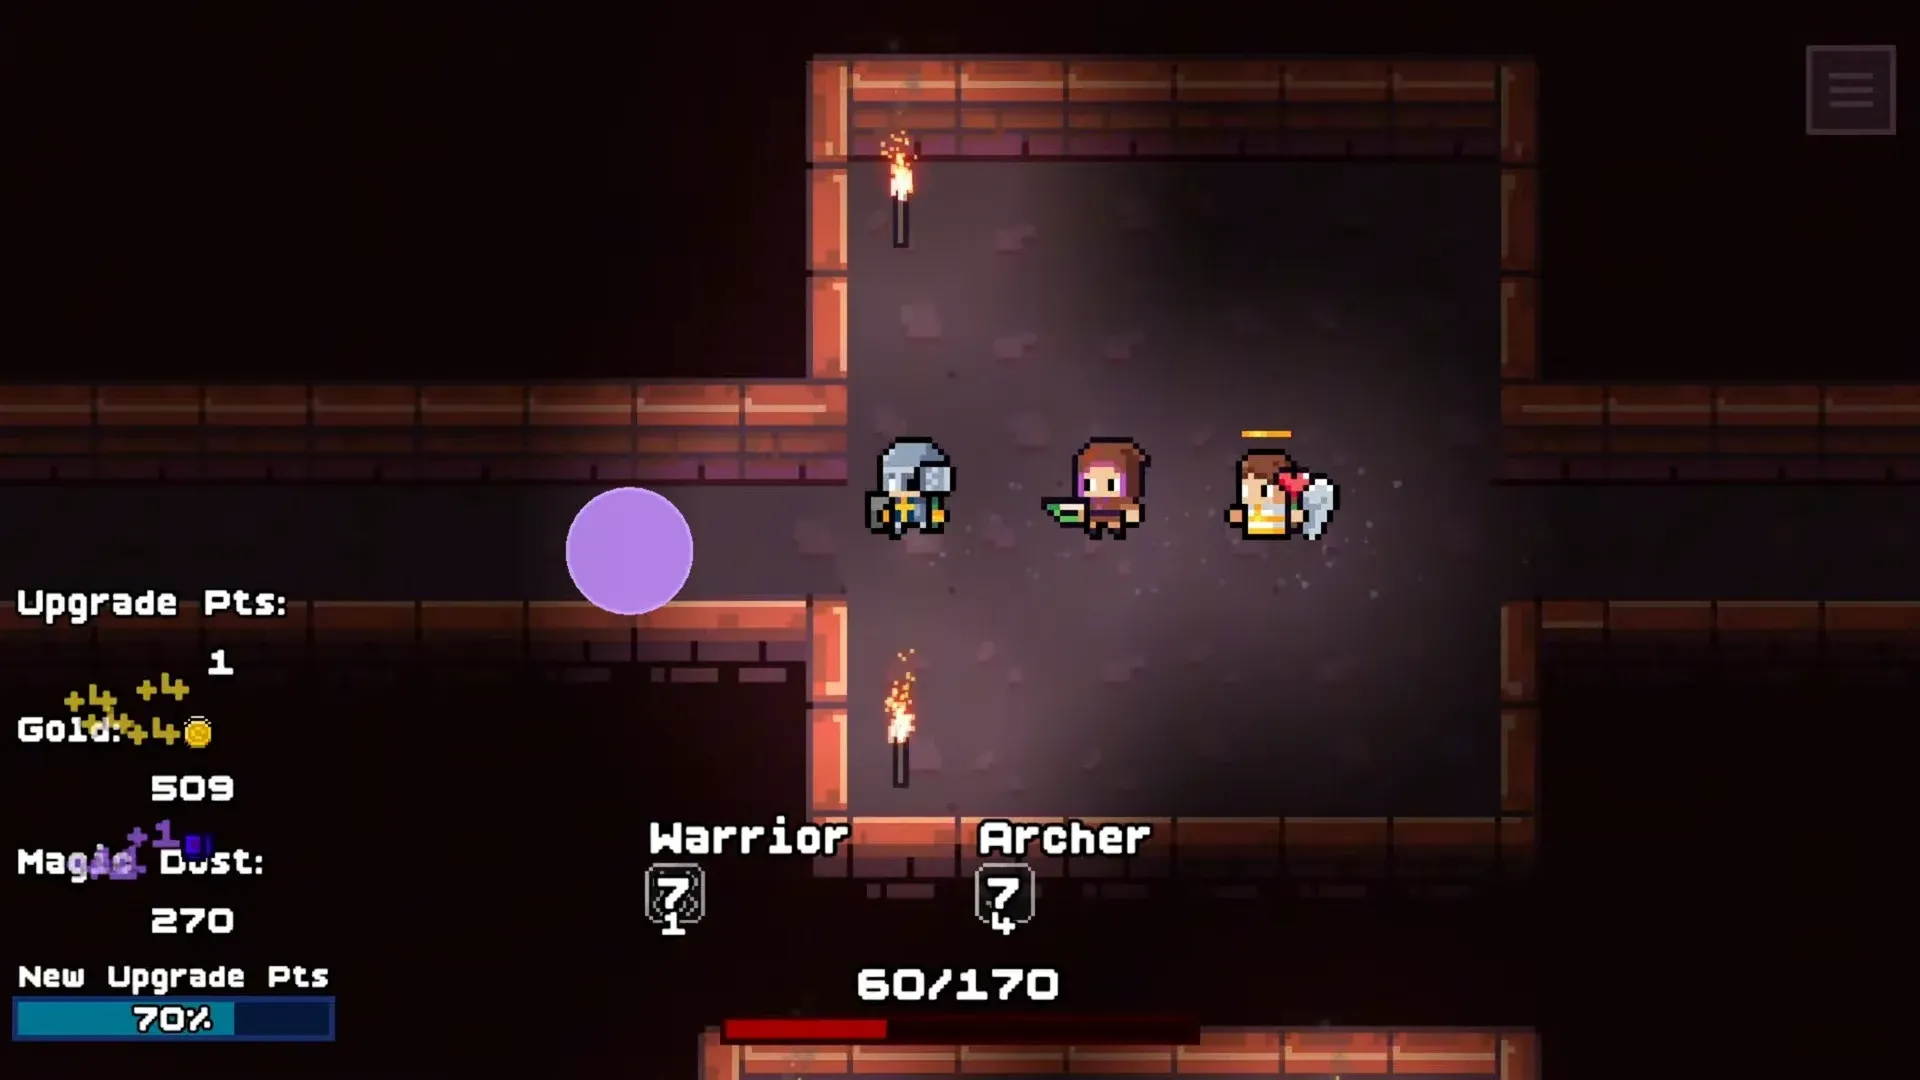
MMSaitama · 63:22 · English interface; build unknown. YouTube.
6. Keep adjusting after repeated failures
Healing upgrades do not immediately prevent further losses. Later changes include Archer piercing count, attack, protection and arrow-skill cooldown. A narrated missed arrow does not establish a current bug.
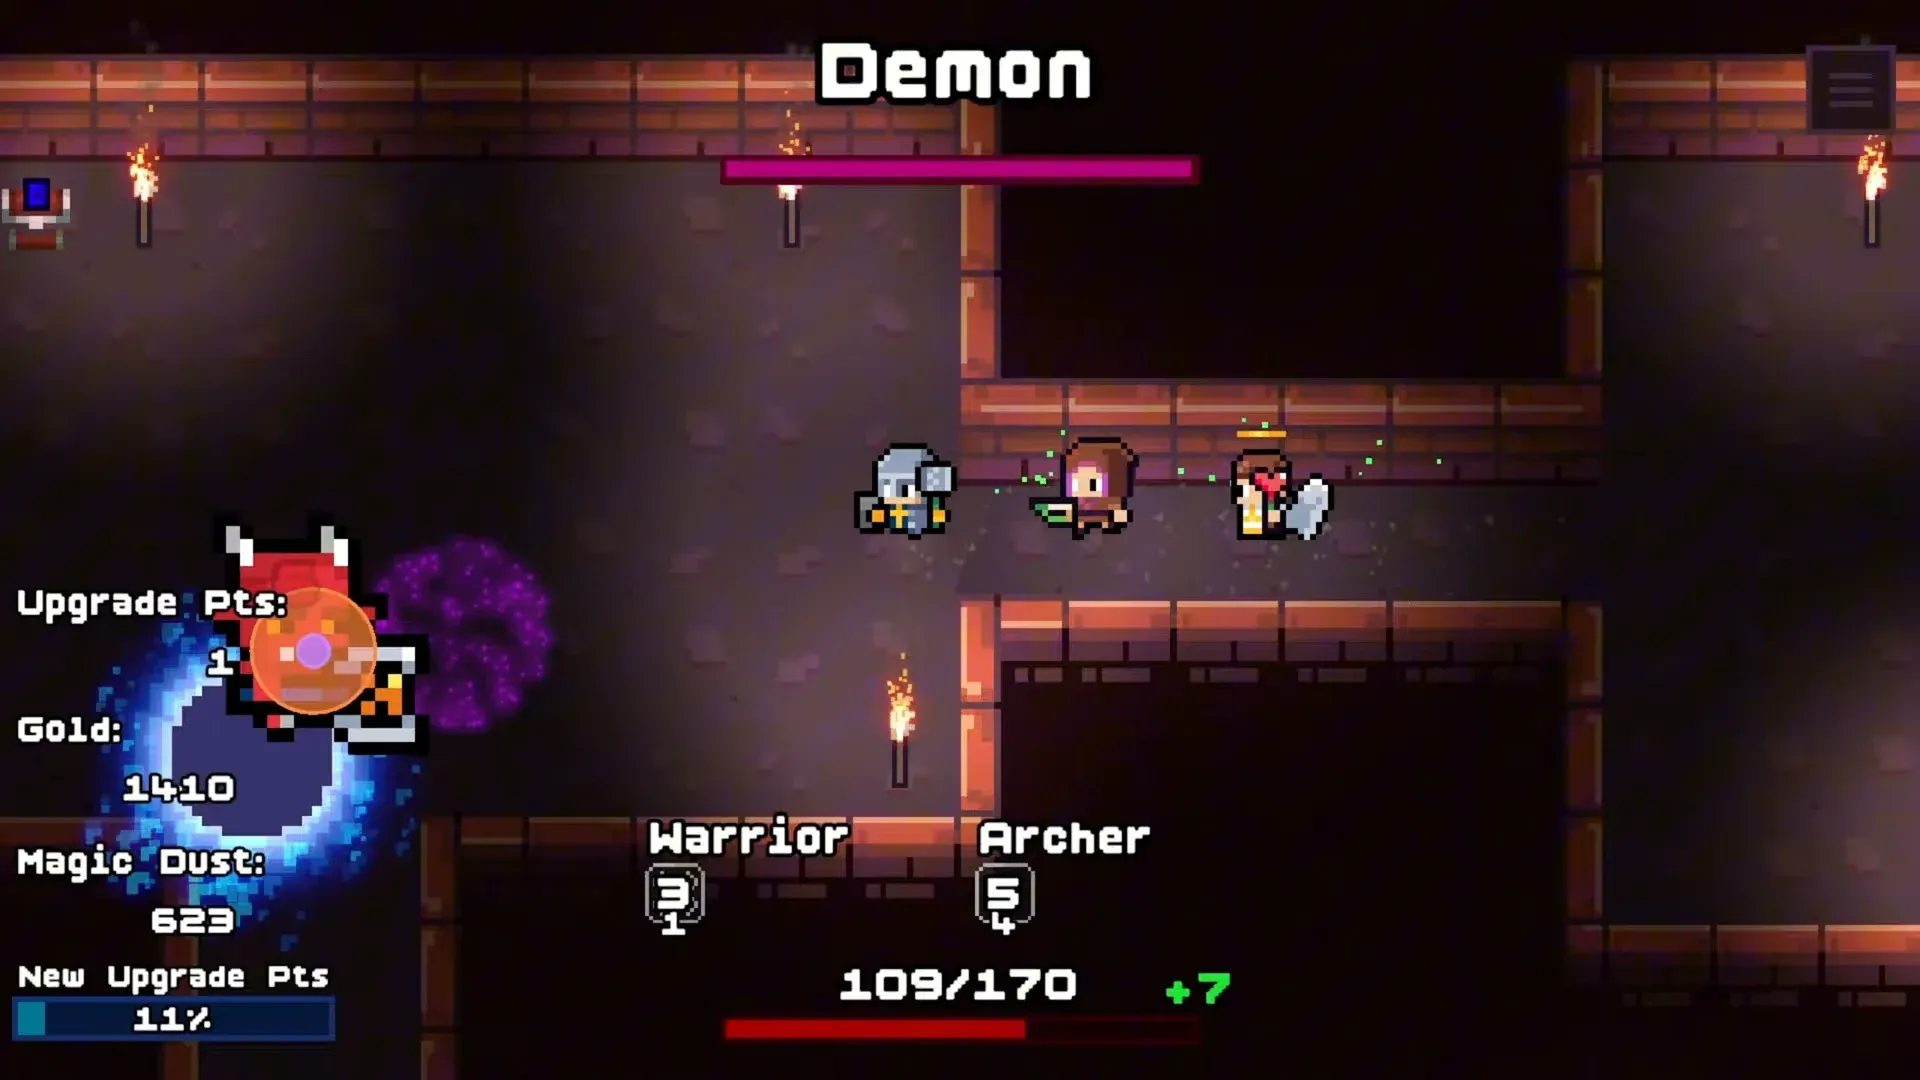
MMSaitama · 76:50 · English interface; build unknown. YouTube.
7. Check the final result and message
After more boss protection, the creator reports surviving another cooldown cycle, then reads “Thanks for playing” and “Please wish list on Steam.”
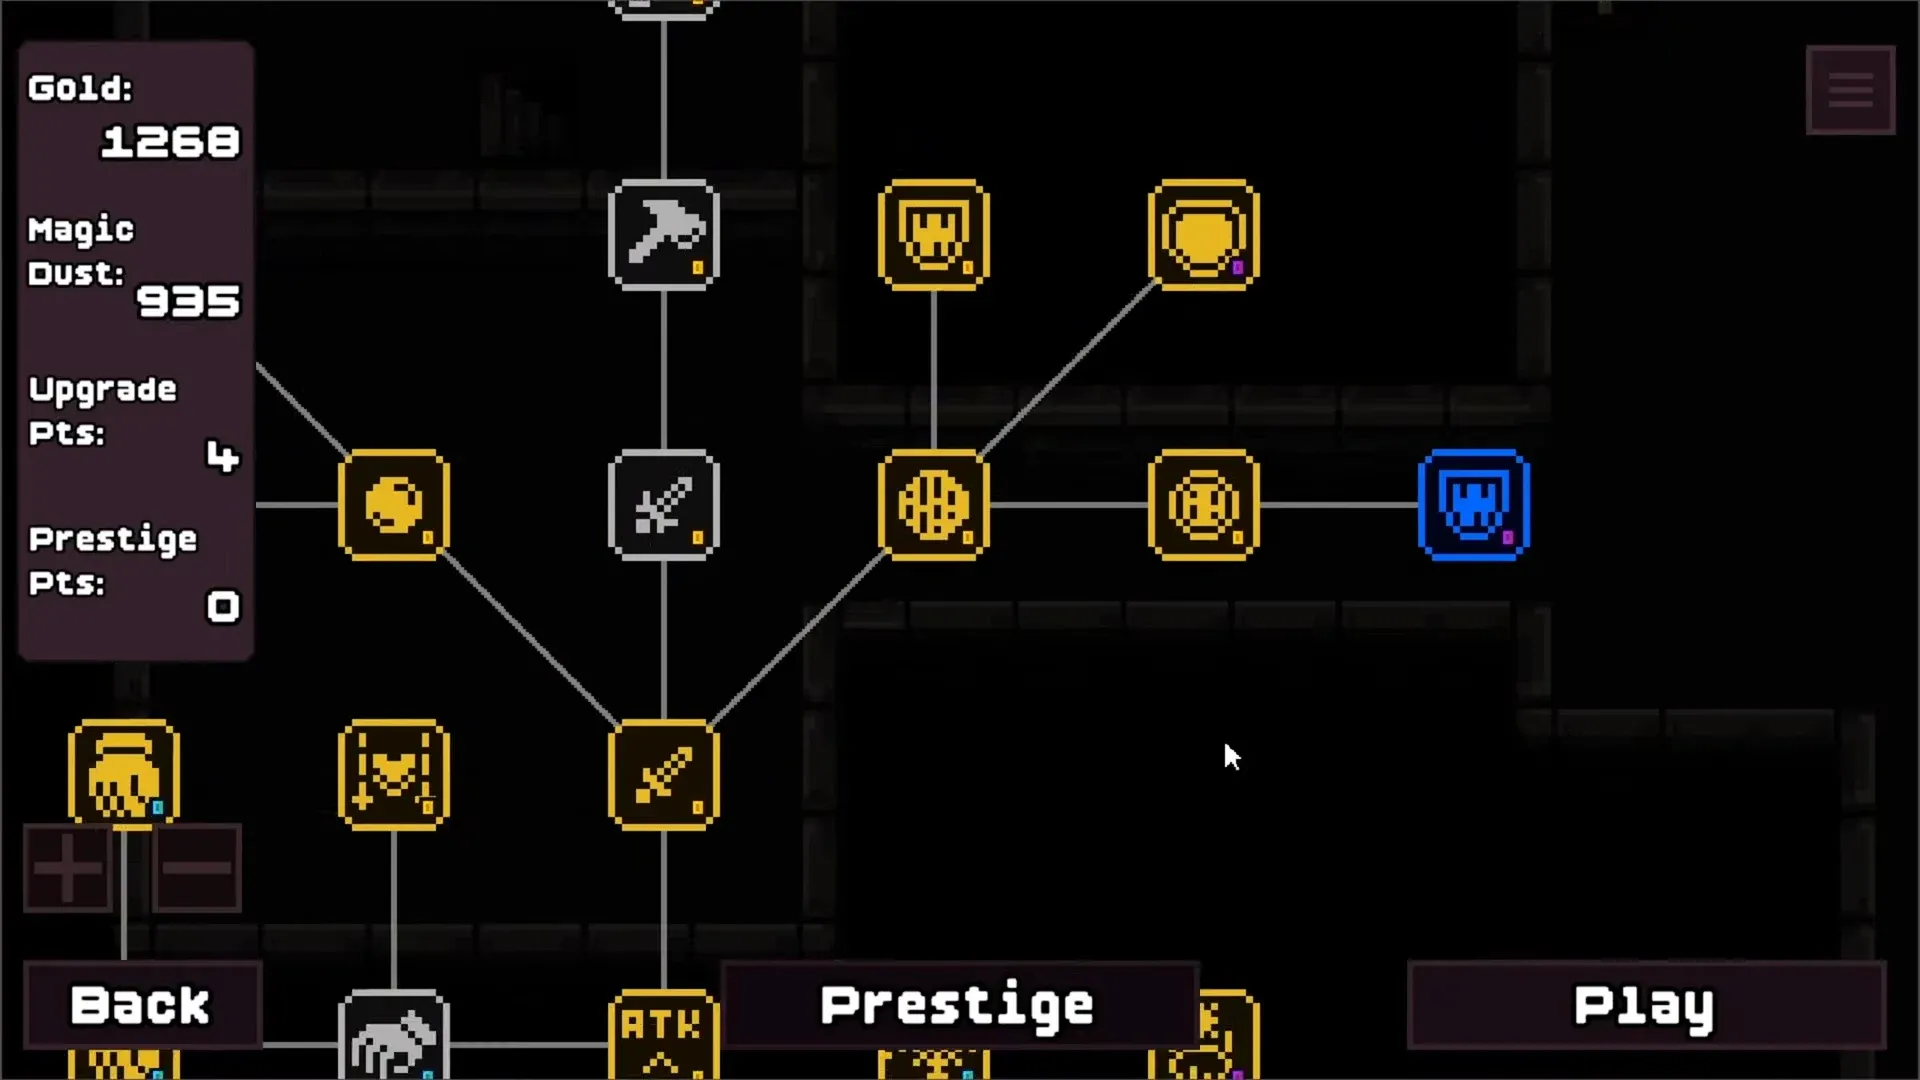
MMSaitama · 87:34 · English interface; build unknown. YouTube.
Main pitfalls
Ordinary-room survival, correct skill bindings and boss-time cooldown readiness were recurring failure points.
What the ending does—and does not—confirm
At 89:15, the creator reports victory; at 89:24–89:33, they read the ending and wishlist messages. This does not establish the current endpoint.
Current data has three stage configurations, with Demon and Dark Necromancer in the second and third. It does not identify this historical boss or confirm third-stage availability, boss patterns or healing/protection thresholds.
Current base references: Prestige, heroes and skills.
Screenshots are included for local preview only. Creator credit does not grant permission to publish or redistribute them.